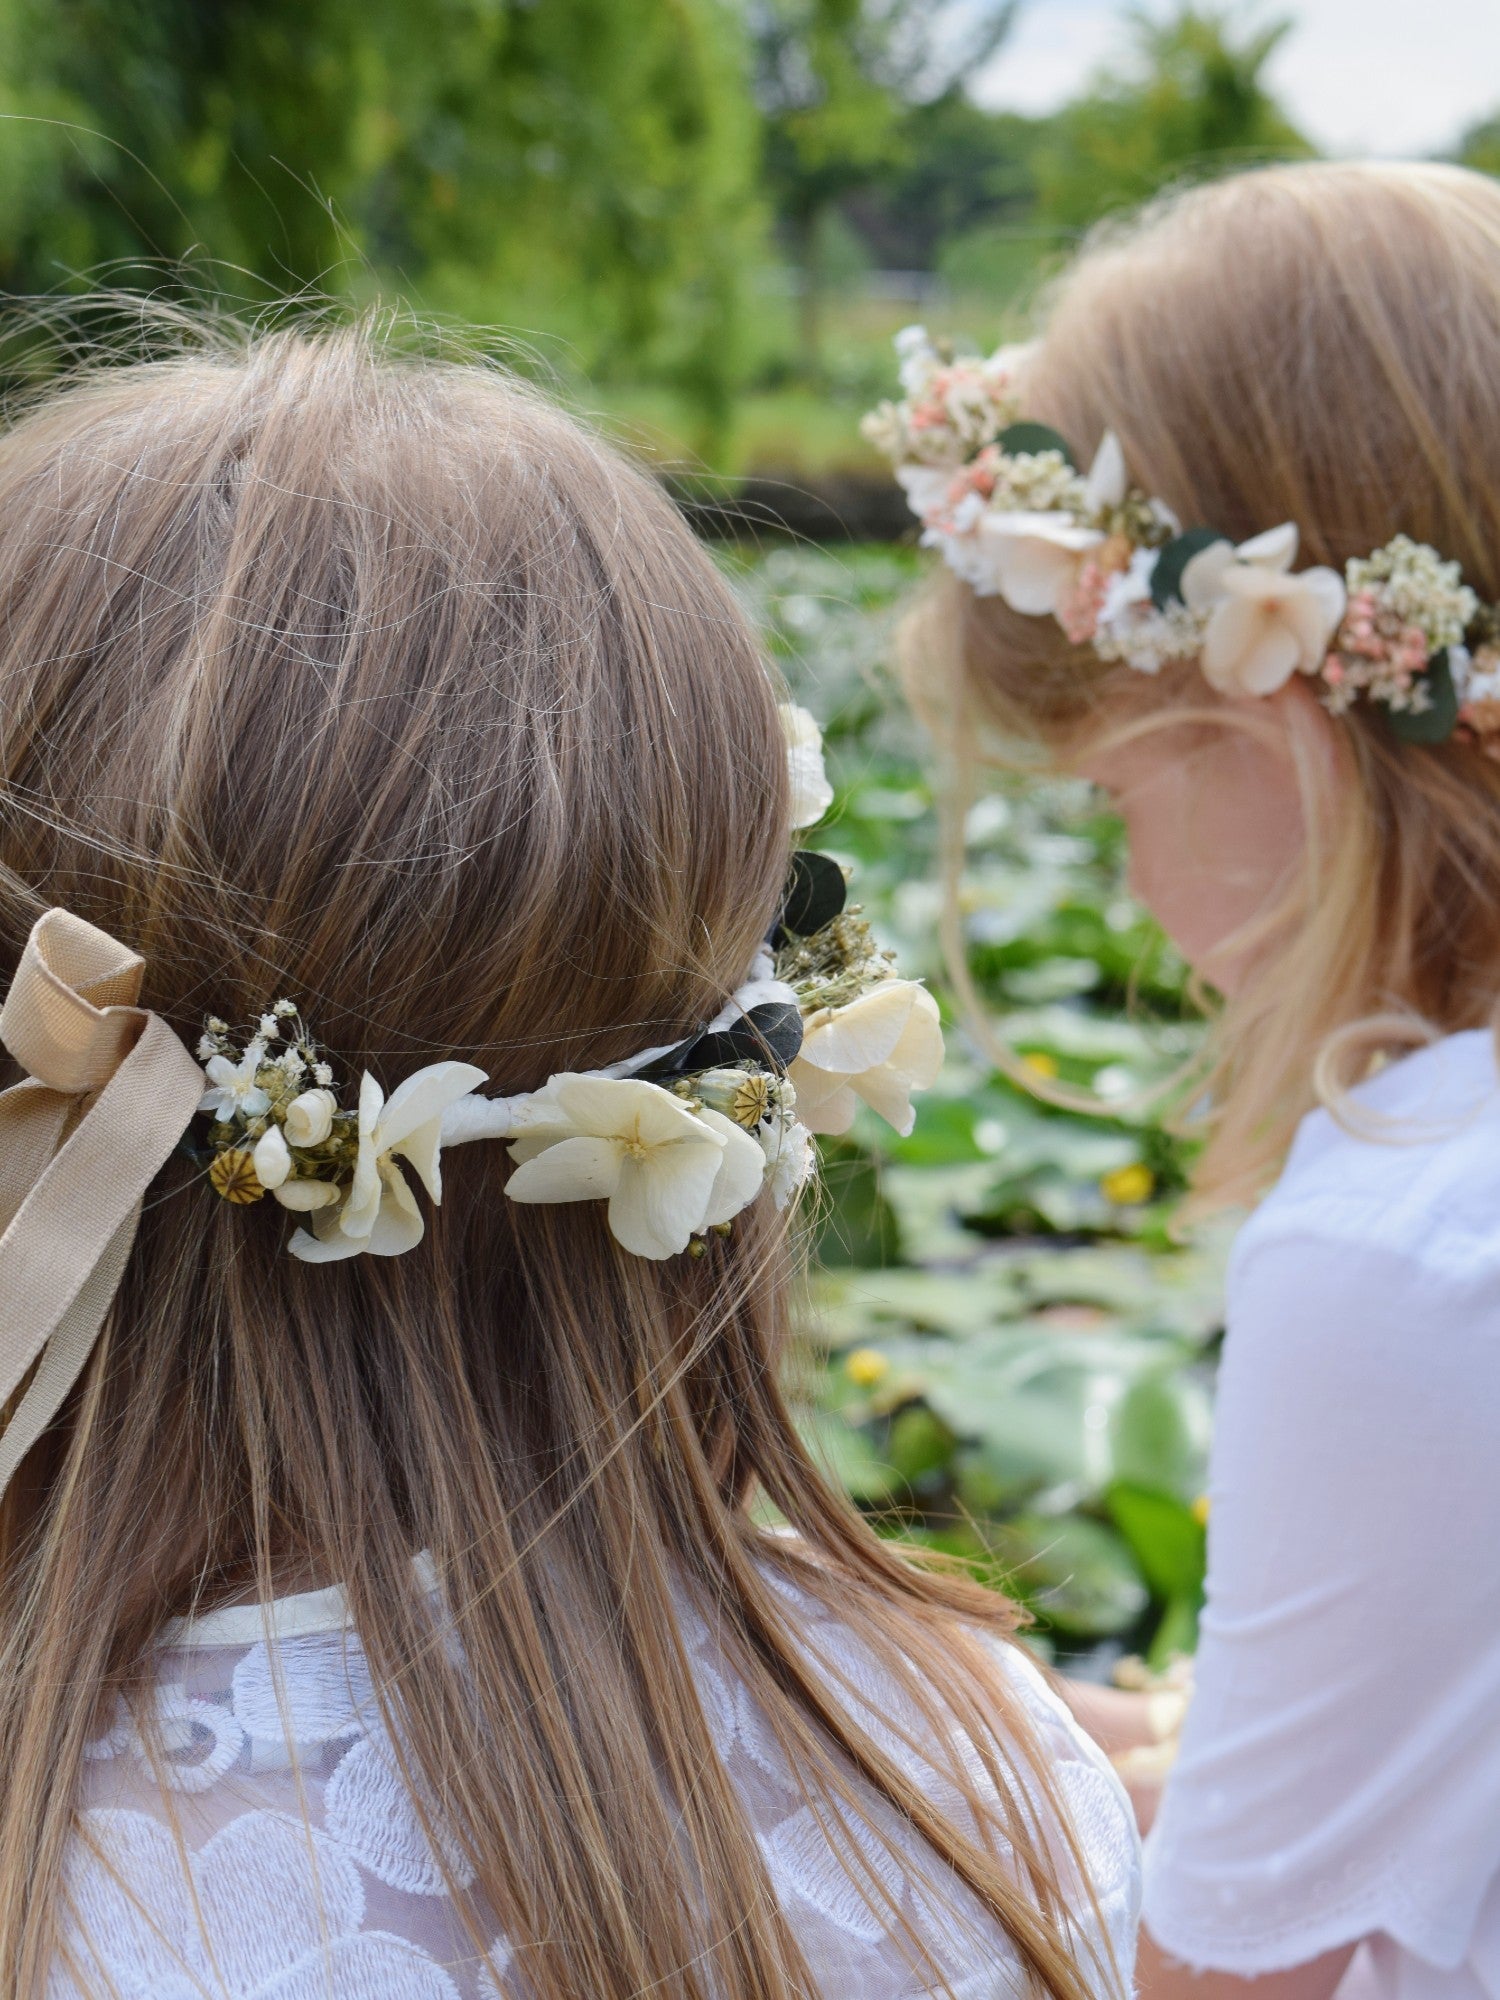
Do you dream of making your own flower crown from dried flowers that you can wear at your wedding or that can be used to brighten up communion hairstyles?
With this simple manual and a minimum of materials you can get started to make your own flower crown that will make you or your child shine on a special day. Making a dried flower wreath doesn't have to be difficult and you can also choose a color palette that completely matches your party theme and hairstyle. Ready? Set. Go!
1. collect materials
You don't need much to make your own flower crown from dried flowers. Choose five types of dried flowers in the colors that best match the style you are looking for. Finer dried flowers with many small side branches are very suitable to use in your flower wreath. Consider, for example, gypsophila , eucalyptus, bromine or fine glixia flowers. You also need scissors and you use standard iron wire.

2. Making the base of your flower crown
Take a piece of wire that measures the circumference of your head. Then we will attach a piece of ribbon (minimum 20 centimeters) to each end of the iron wire, which you can use to attach your flower crown later. To do this, thread the wire through the ribbon and bend the wire into a small loop. To ensure that your flower wreath of dried flowers is comfortable to wear, you can wrap flower tape around the iron wire so that the loops made and therefore your ribbons also remain firmly attached.
3. Tie dried flowers
Once the base of your flower crown has been made, you can start tying up the different types of dried flowers. Choose one type of flower, for example gypsophila, and start with the transition from thread to ribbon. Place a first bundle of your dried flowers against the wire and wrap a piece of wire tightly around it. Make sure the flowers come just over the ribbon so that the green thread we are working on is no longer visible.
4. Cut stems
After you have tied a first bundle of dried flowers to your flower crown, you can cut the stems short. Do this for each bundle of dried flowers that you will add to your flower wreath.
5. Fill in the flower crown
To get a beautiful and full flower crown, we will now always add a new bundle of dried flowers of a different type. Choose a second type of flower (such as green eucalyptus) and place it against the top of the first dried flowers, so that the stalks of the gypsophila are hidden. Wrap these flowers firmly on the green wire with your long iron wire. Cut the stems of your flowers short just below the wire. Completely finish your flower crown until you have arrived at the last ten centimeters.
6. Start at the other end
When the flower crown has been almost completely filled with dried flowers and you have reached the last ten centimeters, we will work in the opposite direction. Place the same type of flower as the one you started with (gypsophila) just over the ribbon, tie tightly, cut the stems short, and add the next type. Continue like this until both ends meet and you get a thick pile of stems and wire together. Your DIY flower wreath is almost ready!
7. Finish
Now that the flower crown is almost ready, the last step follows, in which the opening still has to be filled with dried flowers. In this last step you can choose to fill the opening using a glue gun where you will simply glue the remaining dried flowers into the opening. Can't use a glue gun? No problem! You can use the bundle of twigs and wire as a pin prick cushion where you can pin the remaining dried flowers one by one. Slide them between the twigs and wire until your flower crown is completely filled!
8. Sparkle at your wedding or communion with a flower crown
Now that you have made a flower crown from dried flowers all by yourself, you can shine at your party! Go for a boho or romantic look and enjoy beautiful photos with your handmade flower wreath for a long time to come.
Would you rather outsource the work or are you looking for a specific color palette? Then be sure to take a look at our extensive collection of flower crowns for brides or score a lovely flower crown for your child. They will feel extra special with this fun hair accessory!


